Part1 – Setting up your database
I did some work with an interesting piece of tech lately, Microsoft Syncronization services 4.0 CTP. This post aims to give an overview of where to start, but firstly, let me describe the how all this plugs together and what it buys me.
Overview
The OData + Sync protocol uses the OData format for the data payload that can be consumed by clients that are running on any platform. Clients and the service use the protocol to perform synchronization, where a full synchronization is performed the first time and incremental synchronization is performed subsequent times. The protocol is designed with the goal to make it easy to implement the client-side of the protocol, and most (if not all) of the synchronization logic will be running on the service side. OData + Sync is intended to be used to enable synchronization for a variety of sources including, but not limited to, relational databases and file systems.
Server
The CTP release includes server components that make it easy for you to build a sync Web service that exposes data to be synchronized via the OData + Sync protocol. For example, you can easily expose data in a SQL Server database or a SQL Azure database via a WCF sync endpoint using these server components. In our case our server in sitting in the Azure Cloud providing an OData endpoint, the data is also hosted in the Cloud in Sq1 Azure.
Clients
We have 3 clients, (well 4 actually but our Silverlight version has lagged behind and in not yet publically available).
- WP7 – Local data stored in Isolated Storage, DataVisualizationToolkit for charting, SL3
- iPhone – Connecting directly to the server via OData/Json
- ASP.MVC Ajax – A powerful web interface written using MVC3 and jQuery
- Silverlight – Initially used RIA Services to access the server but synchronization model is nearly identical to the WP7 SL3 approach with isolated storage now.
How to create the server.
- Create you database schema in SSMS (SqlServer managment studio)
- Now that your database has been created you’ll need to provision it, think of this much in the same way that you would provision an existing sql server database for asp membership tables and stored procedures. The syncronization framework will provide you with a tool called SyncSvcUtilHelper.exe this basically is a GUI for the command line version.
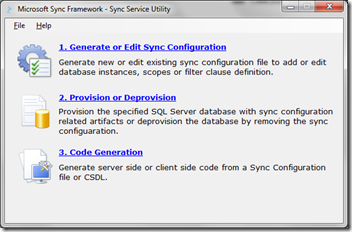
before provisioning you’ll need to create a Sync configuration, so choose option on, select a filename in step 1 and select your database in step2
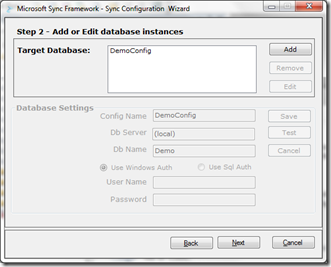
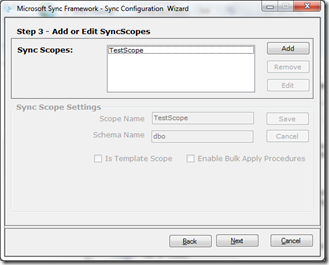
Select the list of tables that you are interested in syncing
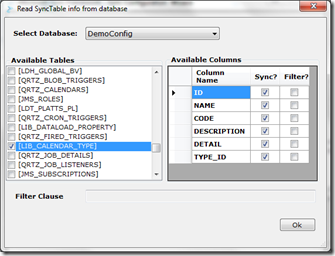
That’s pretty much it. Now you’ll need to choose option2 to provision the database.
Select the configuration file you created as part of step 1 and choose the provisioning option.
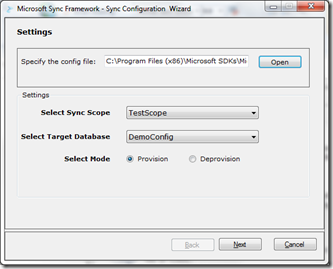
That’s all that’s involved, your Database is now ready to be synchronized, of course there are come considerations, unique id’s etc, but you’ll find all this in the documentation.
My next post will cover creating the WCF service for exposing the database, after that I’ll run through creating the clients.